[accordion]
[acc_item title=”Step 1: Configuring your store settings“]
1. Go to Products > Store Settings in the site admin dashboard
2. In the General tab adjust the location, tax and currency for your region and change the miscellaneous settings to suit your needs.

3. In the Presentation tab select your general settings, single product settings, product list settings and your store URL slugs then click Save Changes

[message style=”warning”]
[/message]

4. In the Shipping tab select your target countries and set your flat rate settings.

5. In the Payment tab select your payment gateways and configure each payment option you’ve chosen.

[/acc_item]
[acc_item title=”Step 2: Creating a Product“]

1. Go to Products > Create New
2. Add your Product name and description of product.

3. Assign your product categories and product tags.

4. Click on ‘Set featured image’, upload your image, add your image title, click ‘Use as featured image’ and then close ‘Set featured image’ window.

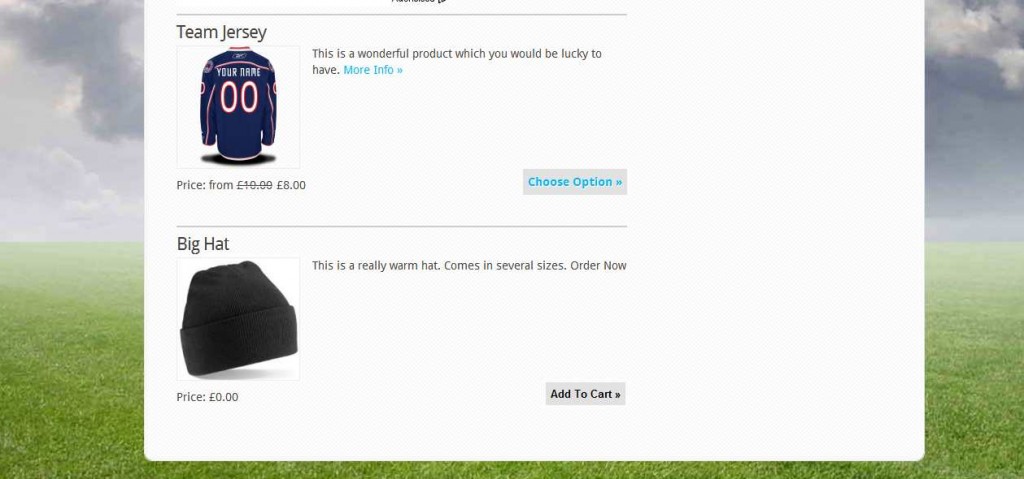
Here’s an example of how the featured image is used with the product description in your store:

5. Complete your Product Details information by adding your Stock Keeping Unit number, Price, Sale Price (Optional), number in stock and select Inventory if you want to limit sales to items in stock only

6. Add your variations (if applicable) by clicking on Add Variation, adding your Variation names, Stock Keeping unit number, price and quantity.

7. Complete the extra Shipping costs if the product needs extra allowance made for shipping.

8. Upload your file if your product includes a file that your customer downloads.

9. Now click on Publish and when you go to your site you’ll see your product displayed in your store page, on the products listing page and the individual product page.
[/acc_item]
[acc_item title=”Step 3: Add your Shopping Cart to your sidebar“]
1. Go to Appearance > Widgets
2. Add your Shopping Cart widget to the sidebar Here’s what it looks like in action in the sidebar:
 Here’s other MarketPress Widgets you can add to your sidebar:


[/acc_item]
[acc_item title=”Step 4: Purchase a Product“]
Now it’s time to go to your store to confirm it is working how you want and to see if there are any areas you want to change.
1. Go to the Store on your Site.
2. Work through the process and purchase some product. You can make adjustments in Products > Store Settings in the following tabs:
[acc_item title=”Step 5: Managing Orders“]
Orders are managed in Products > Manage Orders.
Here’s where you monitor all orders and update their status as the products are being shipped. 
[/acc_item]
[/accordion]


