So, you have signed up, went to your dashboard and thought “Woah!, what a lot of options”.
Don’t panic, everything will come good.
Just follow the simple steps below to get your site up and running. The more advanced stuff can wait until you are ready.
1: Set Your Site Title And Tagline
Your site description and tagline are used on the header of every page of your website, to change it:
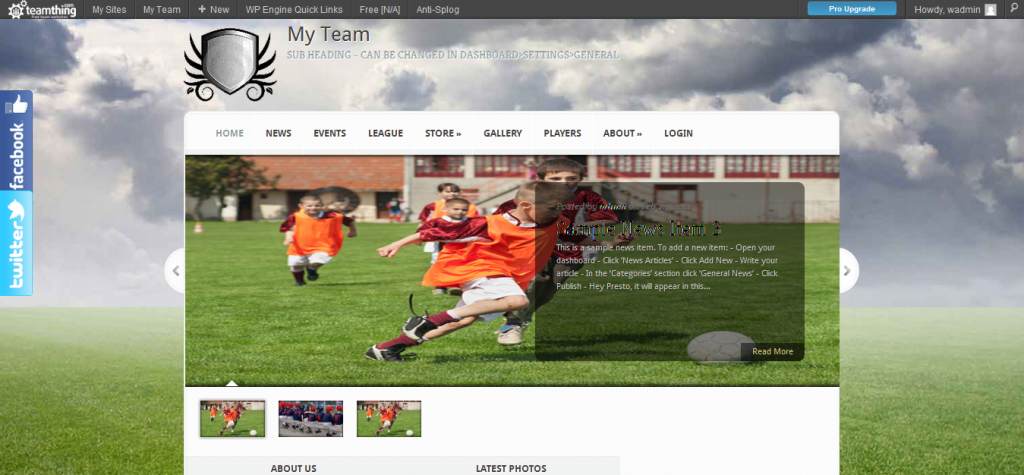
From your dashboard select the Settings>General menu.
From here you can change the site title and also the sub heading.
Click ‘save’ and then go back to your live website to see the changes.

- teamthing.com – General Settings
2: Upload Your Club Badge or Custom Header
To change the logo that appears on the header of your live site is also very simple. You have 2 choices for year header; you can either upload your club badge and use this in combination with the site title and tagline, or, upload a banner that will overwrite everything in the top header.
Use Club badge and site title
- From your desktop click the Appearance>Theme Options menu.
- In the ‘General’ tab you should see the ‘Logo’ text box.
- Click the ‘Upload’ button and choose an image that will now become your live logo on the website when the ‘Save’ button is pressed.
Upload a banner image to server as your header
3: Change the About Widget
On your homepage there is a section for you ‘About Me’ information that provides basic information to users about your club, this information can be changed by:
- Select the Appearance>Widgets menu option in your dashboard.
- Locate the ‘ET About Me Widget’ in the widget areas on the right hand side of the screen (the location of this widget will differ depending on your chosen theme).
- Change the text of this widget to details about your club.
- Save & Review your live site.

4: Edit/Delete the Sample News Articles
Each new teamthing site comes loaded with demo pages and news articles.
These articles can be edited or deleted.
To manage your news articles:
- From your dashboard click the ‘News Articles’ menu.
- From the news articles screen you can edit or delete existing articles.
- For a full tutorial in adding news articles you can view the following.
Below is a quick video all about adding news articles (posts):
5: Edit/Delete the Sample Pages and Menus
Your teamthing site also comes loaded with a number of sample pages that you can choose to edit or remove e.g. events, news, leagues.
From your dashboard select the ‘Pages>All Pages’ menu to decide which demo pages you wish to keep or edit.
Below is a short video showing how to add a new page.
If you have added or removed a page then you should also make sure that your menus on your website are still correct.
The menus can be accessed from the ‘Appearance>Menus’ menu item.
Below is a short video describing the use of menus.
6: Explore The Support Features In Your Dashboard
If you have any questions about any of our features, help is at hand.
The are a wealth of ways to access help in your dashboard.
Video Tutorials
Video tutorials on how to master some of the elements in your dashboard are available through your Dashboard>Support>Video Tutorials.
FAQ
Frequently asked questions can be accessed through Dashboard>Support>FAQ
Support Tickets
If the answer cannot be found in the FAQ or video tutorials then do not hesitate to submit a support ticket for the answer. Dashboard>Support>Support Tickets
Explore Your Dashboard
teamthing have thought of [almost] everything that a team admin will need to run their team, and their team website, and have conveniently placed all these tools in one big dashboard.
The dashboard may be daunting at first but, once you know how to navigate it, you will see exactly how powerful you can make your site.
The Dashboard
When you sign up you are given a site which already has a default theme, sample news articles and sample pages to show you what is possible with your site.
“The dashboard is where you can change everything relating to your site and also from where you can access your club administration tools.

- Teamthing.com – Dashboard

Below is a short video introducing your dashboard:
To see some more tutorial videos on how the dashboard works go here
Below is a brief overview of all of the menus on the dashboard:
- News Articles: From this menu you can add edit and delete news articles.
- Media: Upload photos, videos and documents that can be used in any of your pages or news articles in your site.
- Members: Add members to your site and give them permissions to manage different aspects of your site.
- Pages: Add new, or edit existing, pages in your site. N.b. after adding a page you may want to add this page to the menu bar on your site.
Other useful help articles
Below are some useful articles to get you started with some basic operations:
How to change or remove the big Facebook and Twitter buttons on your site.
How to auto-post news articles to Facebook and Twitter
Show a Facebook album inside a news article
Feel free to comment below on any of the above topics, or let us know what we are missing.


