To add a new post just login into your dashboard then choose News Articles>Add New.

The post edit screen will now open to allow you to give your article a title, some content and to set other options.

The fields on the ‘post’ screen are described below:

The title of your post. You can use any words or phrases. Avoid using the same title twice as that will cause problems. You can use commas, apostrophes, quotes, hypens/dashes, and other typical symbols in the post like “My Site – Here’s Lookin’ at You, Kid.” WordPress will clean it up for the link to the post, called the post-slug.
The blank box where you enter your writing, links, links to images, and any information you want to display on your site. You can use either the Visual or the HTML view to compose your posts. For more on the HTML view, see the section below, Visual Versus HTML View.
Allows you to view the post before officially publishing it.
Contains buttons that control the state of your post.
The main states are Published, Pending Review, and Draft. A Published status means the post has been published on your blog for all to see. Pending Review means the draft is waiting for review by an editor prior to publication. Draft means the post has not been published and remains a draft for you. If you select a specific publish status and click the update post or Publish button, that status is applied to the post. For example, to save a post in the Pending Review status, select Pending Review from the Publish Status drop-down box, and click Save As Pending. (You will see all posts organized by status by going to Posts > Edit).
To schedule a post for publication on a future time or date, click “Edit” in the Publish area next to the words “Publish immediately”. You can also change the publish date to a date in the past to back-date posts. Change the settings to the desired time and date. You must also hit the “Publish” button when you have completed the post to publish at the desired time and date.
Visibility – This determines how your post appears to the world. Public posts will be visible by all website visitors once published. Password Protected posts are published to all, but visitors must know the password to view the post content. Private posts are visible only to you (and to other editors or admins within your site)
After you save your post, the Permalink below the title shows the potential URL for the post.
The URL is generated from your title. The commas, quotes, apostrophes, and other non-HTML favorable characters are changed and a dash is put between each word. If your title is “My Site – Here’s Lookin’ at You, Kid”, it will be cleaned up to be “my-site-heres-lookin-at-you-kid” as the title. You can manually change this, maybe shortening it to “my-site-lookin-at-you-kid”.
Allows you to save your post as a draft / pending review rather than immediately publishing it. To return to your drafts later, visit Posts – Edit in the menu bar, then select your post from the list.
Publishes your post on the site. You can edit the time when the post is published by clicking the Edit link above the Publish button and specifying the time you want the post to be published. By default, at the time the post is first auto-saved, that will be the date and time of the post within the database.
Refers to micro-categories for your site, similar to including index entries for a page. Posts with similar tags are linked together when a user clicks one of the tags. Tags have to be enabled with the right code in your theme for them to appear in your post. Add new tags to the post by typing the tag into the box and clicking “Add”.
The general topic the article can be classified in. Generally, users have 7-10 categories for their content.
Readers can browse specific categories to see all posts in the category. To add a new category, click the +Add New Category link in this section. You can manage your categories by going to Posts > Categories.
For a full video on the basics of writing an article see the short video below:
(for an in depth article on the options of the post editor see this link: http://codex.wordpress.org/Writing_Posts)
N.B. More video tutorials can be found in your Dashboard>Support>Video Tutorials
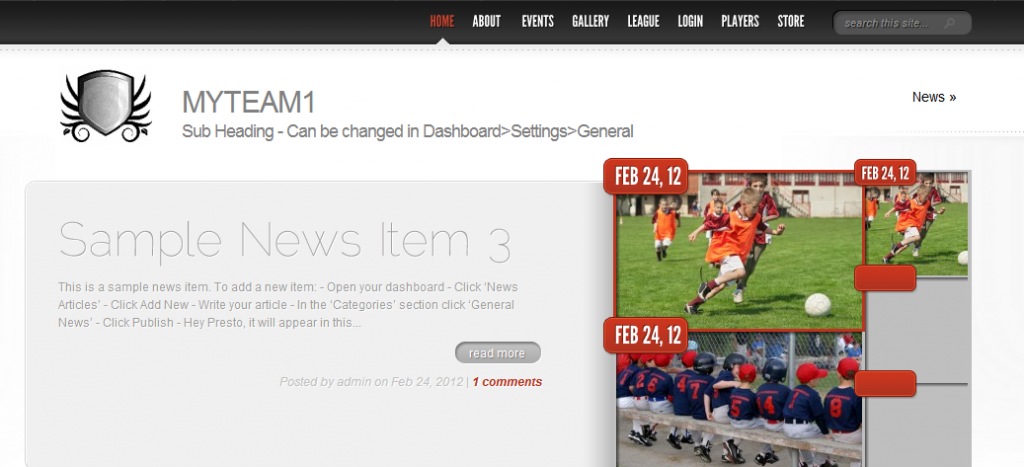
Featured images are important if you want your article to stand out on your site.
The image that you choose, from clicking the ‘Set featured image’ button in the ‘Featured Image’ section, will be used anywhere your article is listed on your site e.g. in the front page or on news pages.
N.B. If no featured image is selected, the first image in the news article is used by default.
NEW FEATURE: You can now drag and drop an image into the ‘Featured Image’ section. A full article on featured images is shown here.
A short video explaining featured images can be seen below:
Once you have finished editing and are happy with what you have written just press the ‘Publish’ button and the article will now appear on your site.
N.B. More video tutorials can be found in your Dashboard>Support>Video Tutorials


